 In 2007, we first embarked onto getting our ISO registration. By March of 2008, after our first audit, we were registered. We now maintain an ISO 9001:2015 certified quality management system. Experience and continual training are at the heart of our superior quality, but SPC monitoring is its life blood. We live and breathe SPC. We are proud of the levels of excellence we have achieved. Our defects are measured in parts per million (DPPM).
See our previous year’s return rates:
2008: 0.27% (2700 DPPM)
2009: 0.53% (5300 DPPM)
2010: 0.10% (1000 DPPM)
2011: 0.67% (6700 DPPM)
2012: 0.36% (3600 DPPM)
2013: 0.19% (1871 DPPM)
2014: 0.25% (2567 DPPM)
2015: 0.75% (7500 DPPM)
2016: 0.36% (3600 DPPM)
2017: 0.79% (7900 DPPM)
2018: 0.65% (7900 DPPM)
2019: 0.46%
2020: 0.50%
2021: 0.54%
None of this means anything unless we have a thorough understanding of our customer’s requirements. This starts with a review of the customer’s expectations on each project. Typically, this involves reviews of purchase orders, quality clauses, and drawings. Meetings with your purchasing and engineering staff are always welcome and encouraged. Early customer involvement is vital to help us ensure that we meet our customer’s expectations.
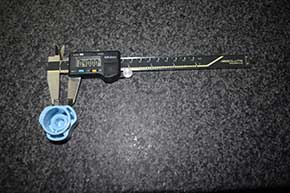
From there, inspection and testing of incoming, in-process, and final product is carried out in a systematic and well documented manner. There is no tribal knowledge in our system. All of our testing methods are well defined by instructions. In-coming material is inspected and tested. Material certifications are documented to ensure lot traceability. Discrepant material is documented, segregated, and evaluated by our MRB. Corrective Action Reports (CAR) are initiated and evaluated.
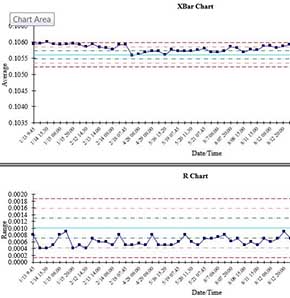
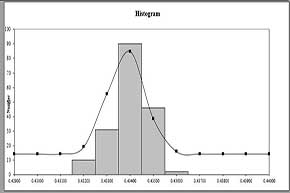
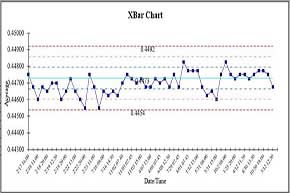
Production is monitored by Statistical Process Control (SPC) of our customer’s requirements, whether they be dimensional or cosmetic. All of our processes are well defined to ensure consistent methods by all of our associates. If that diameter is important to you, then you can be assured that that diameter is going to be right, on each and every lot. We maintain lot to lot records of the dimensions we check, which are then plotted on X-bar and R charts. Process capability (CpK) is calculated for each dimension we check. During preventative maintenance, it’s not unusual for us to replace or rework a core pin because a hole is consistently .004″ below nominal on a +/-.005 tolerance just so we can improve the CpK on that dimension. Once again, discrepant material is documented, segregated, and evaluated by our MRB. Corrective Action Reports (CAR) are initiated and evaluated, thus refining our processes.
Our quality system is designed to identify problems in the early stages of conception and throughout manufacture. Our proactive system solves problems once and documents the corrective or preventative action so that we do not have to revisit them at all.


